
motegi
Tyme Machine
- Joined
- Jul 13, 2014
- Messages
- 2,209
INTRO:
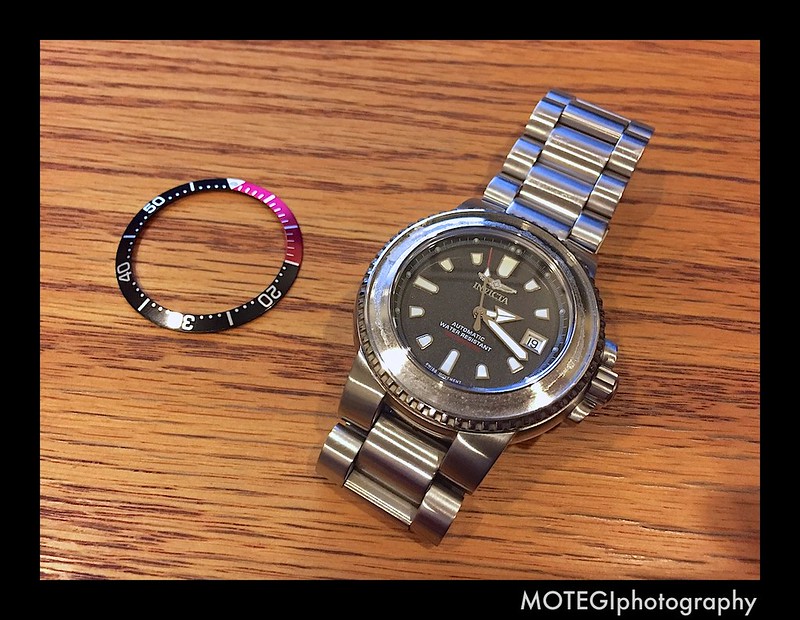
If anyone has experienced a loose bezel insert or is looking to replace a damaged/scratched bezel insert I have put together this tutorial. This demonstrates the reapplication of a bezel insert that has separated from a watch. The process is the same for installing a new bezel insert.
Please note that in some watches the bezel inserts are held in by friction alone without adhesive. You will be able to see which type your watch has by examining the original parts. If there is no tape or adhesive left behind on the parts then it is probably a friction fit insert. Of course if the insert no longer holds by friction alone then you may consider the technique as outlined below to keep the insert in place.
NOTE: I do NOT recommend the use of SuperGlue or any other instant glue for the application of a watch bezel. First it is very difficult to keep the glue from contaminating the outer, visible surfaces of the bezel and case. Also if the glue leaks into the bezel mechanism it can seize the entire bezel. Furthermore many times the bezel insert alignment is critical and SuperGlue will not give you the ability to make adjustments once the insert has been replaced.
----------------------------------------
TIME:
15 minutes
MATERIALS:
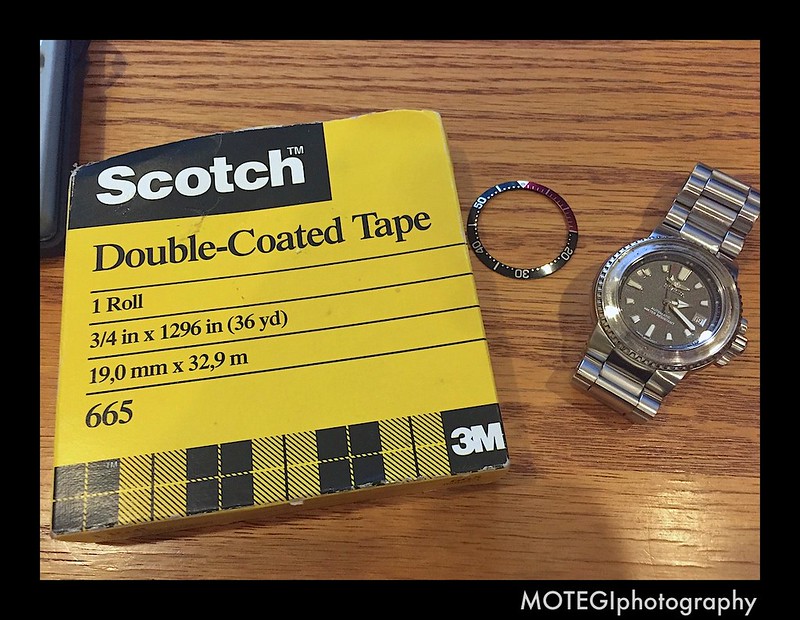
Double sided clear tape (Alternately you can use ShoeGoo OR GS Hypo Cement)
Scissors
GooGone or WD40
Isopropyl alcohol
Clean cloth
COST:
Under $10
----------------------------------------
TUTORIAL:
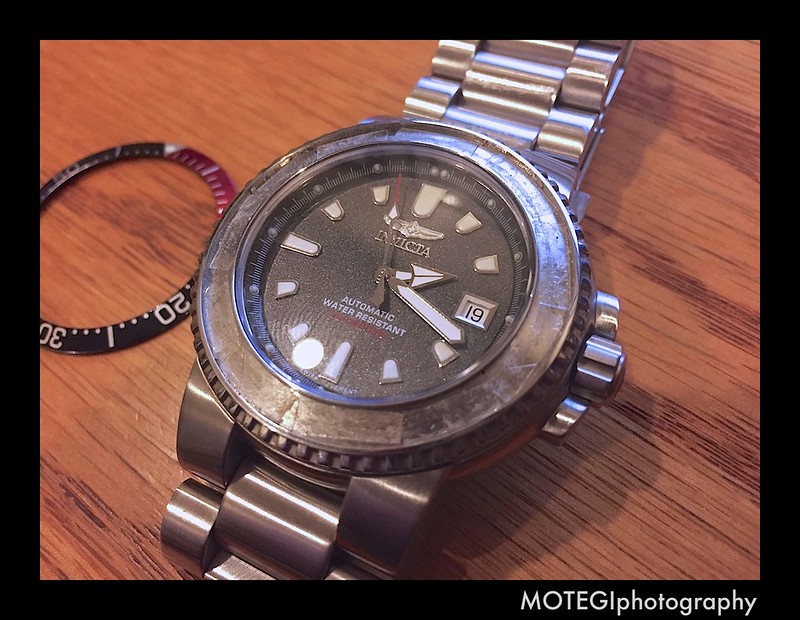
1) Inspect the bezel and insert contact surfaces. You can see the old factory installed double sided tape on the insert and bezel in the photo
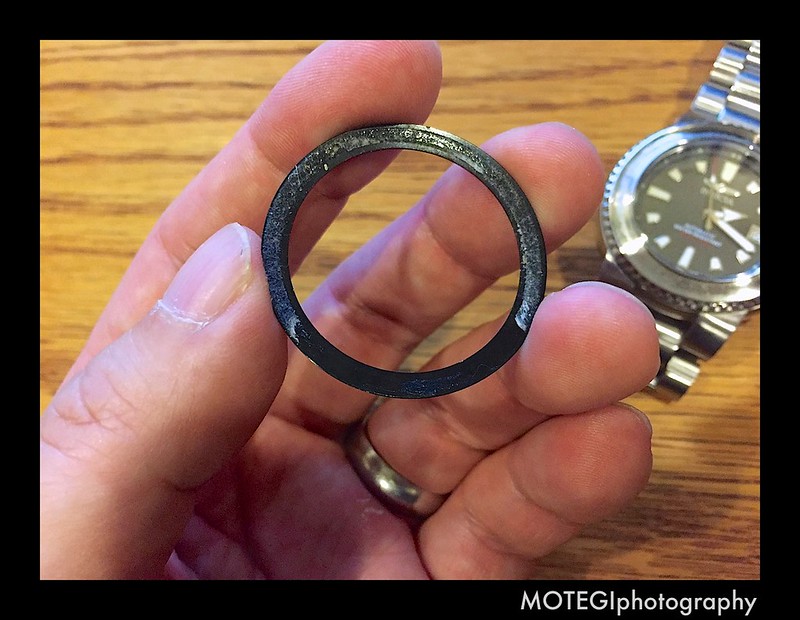
2) Clean the old tape/adhesive off of the bezel and, if reusing, the insert. You can use GooGone or WD40 to soften and wipe off the adhesive. If you use a solvent then follow that by cleaning the parts with isopropyl alcohol since any remaining solvent could prevent adhesion of the new tape

3) Start by cutting a few very thin 2-3mm strips of the double sided tape
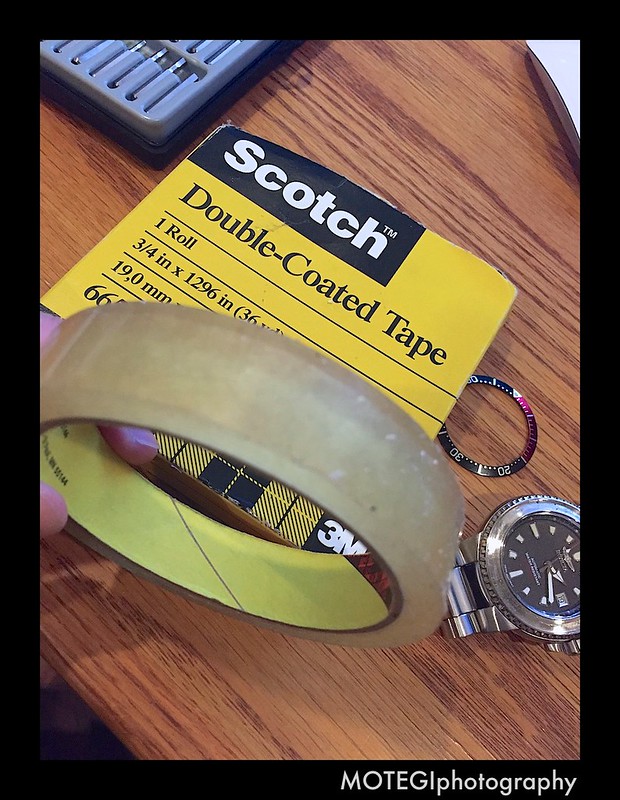
4) Apply tape into the bezel channel where the insert will be seated. Alternately you can apply the tape onto the back of the bezel insert itself. Also, for many replacement inserts they may come with a ring of double sided tape already pre-installed at the factory.
For this step you can also use a couple of dots of Shoe Goo or GS Hypo Cement instead of the double sided tape. I recommend first putting a small amount of cement onto a piece of wax paper and then applying it to the parts using a toothpick rather than trying to use the container to apply directly to the watch parts. Again, be careful when using any cement or glue as any leakage into the bezel could cause it to bind up.
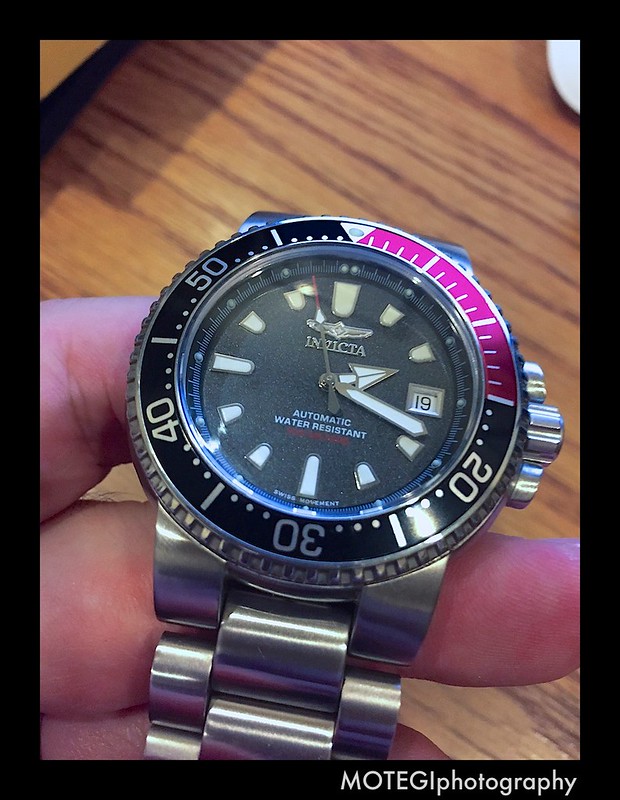
5) Now carefully align the bezel insert and gently push it in place. You can place a weight on it to hold it down while the adhesive cures. Voila!
If anyone has experienced a loose bezel insert or is looking to replace a damaged/scratched bezel insert I have put together this tutorial. This demonstrates the reapplication of a bezel insert that has separated from a watch. The process is the same for installing a new bezel insert.
Please note that in some watches the bezel inserts are held in by friction alone without adhesive. You will be able to see which type your watch has by examining the original parts. If there is no tape or adhesive left behind on the parts then it is probably a friction fit insert. Of course if the insert no longer holds by friction alone then you may consider the technique as outlined below to keep the insert in place.
NOTE: I do NOT recommend the use of SuperGlue or any other instant glue for the application of a watch bezel. First it is very difficult to keep the glue from contaminating the outer, visible surfaces of the bezel and case. Also if the glue leaks into the bezel mechanism it can seize the entire bezel. Furthermore many times the bezel insert alignment is critical and SuperGlue will not give you the ability to make adjustments once the insert has been replaced.
----------------------------------------
TIME:
15 minutes
MATERIALS:
Double sided clear tape (Alternately you can use ShoeGoo OR GS Hypo Cement)
Scissors
GooGone or WD40
Isopropyl alcohol
Clean cloth
COST:
Under $10
----------------------------------------
TUTORIAL:
1) Inspect the bezel and insert contact surfaces. You can see the old factory installed double sided tape on the insert and bezel in the photo
2) Clean the old tape/adhesive off of the bezel and, if reusing, the insert. You can use GooGone or WD40 to soften and wipe off the adhesive. If you use a solvent then follow that by cleaning the parts with isopropyl alcohol since any remaining solvent could prevent adhesion of the new tape
3) Start by cutting a few very thin 2-3mm strips of the double sided tape
4) Apply tape into the bezel channel where the insert will be seated. Alternately you can apply the tape onto the back of the bezel insert itself. Also, for many replacement inserts they may come with a ring of double sided tape already pre-installed at the factory.
For this step you can also use a couple of dots of Shoe Goo or GS Hypo Cement instead of the double sided tape. I recommend first putting a small amount of cement onto a piece of wax paper and then applying it to the parts using a toothpick rather than trying to use the container to apply directly to the watch parts. Again, be careful when using any cement or glue as any leakage into the bezel could cause it to bind up.
5) Now carefully align the bezel insert and gently push it in place. You can place a weight on it to hold it down while the adhesive cures. Voila!
Last edited by a moderator:
") [/font][/em]
[/font][/em]